How to Make the Perfect Art Gallery Wall
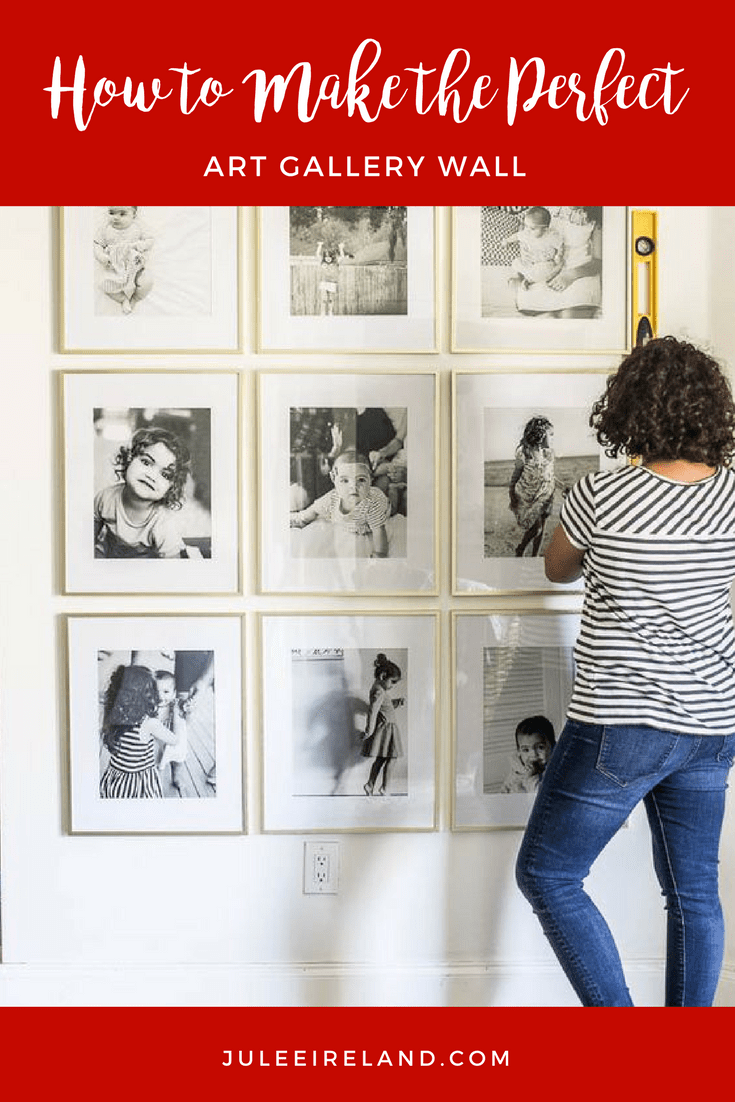
Creating the perfect art gallery wall in your home may seem like a difficult and daunting task but with a little pre-planning it’s really quite simple. Here are my step-by-step tips and instructions to make a masterful gallery for your wall showcasing your favorite artwork and family photos.
Step 1: Collect Your Supplies
To bring your gallery wall to life you will need a few basic tools to help you complete the task. Here is a list of the basic supplies that you will need. A pencil, nails, newspaper or butcher paper, scissors, painter’s tape, hammer, measuring tape and a level.
Now you are ready for step 2!
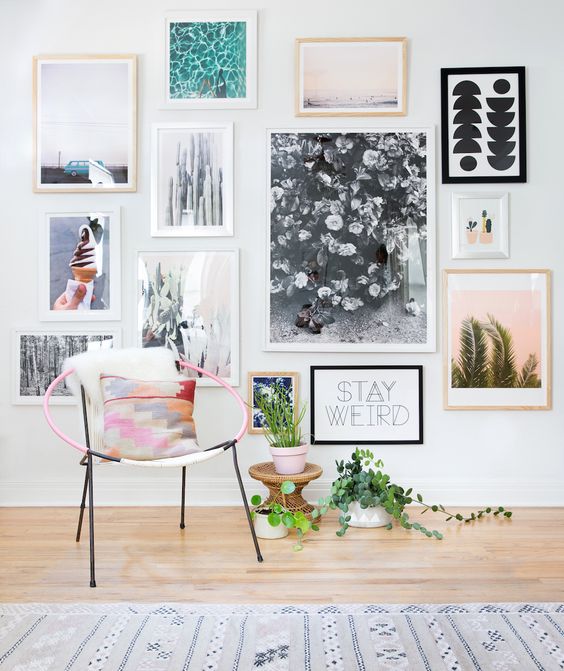
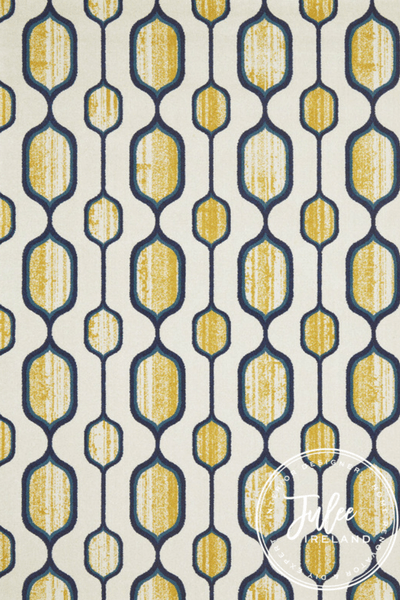
photo by BRIKA
Step 2: Select, Gather and Organize
I love an eclectic, yet cohesive mix of artwork and photos hung on the wall. It’s important that the frames and content relate to one another to constitute a collection that will tell a story. Get creative! You can frame anything from photos, magazines, letters, artwork, famous quotes, works of music or pages from your favorite book with the same theme and color palette to make your wall visually appealing.
Tip: Frame all your artwork and photos with one to two complimentary colors and use a variety of different sizes and shapes of frames to add contrast and texture to your gallery wall.
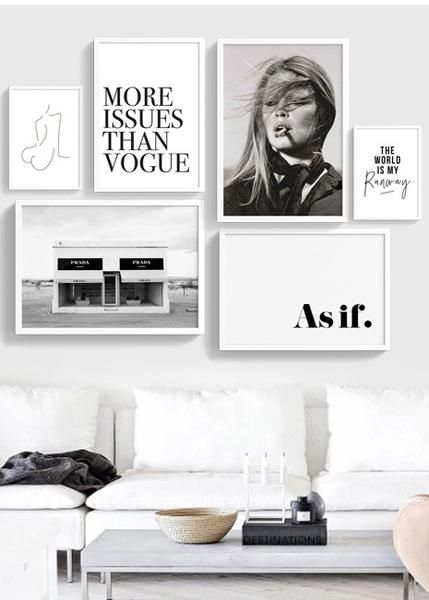
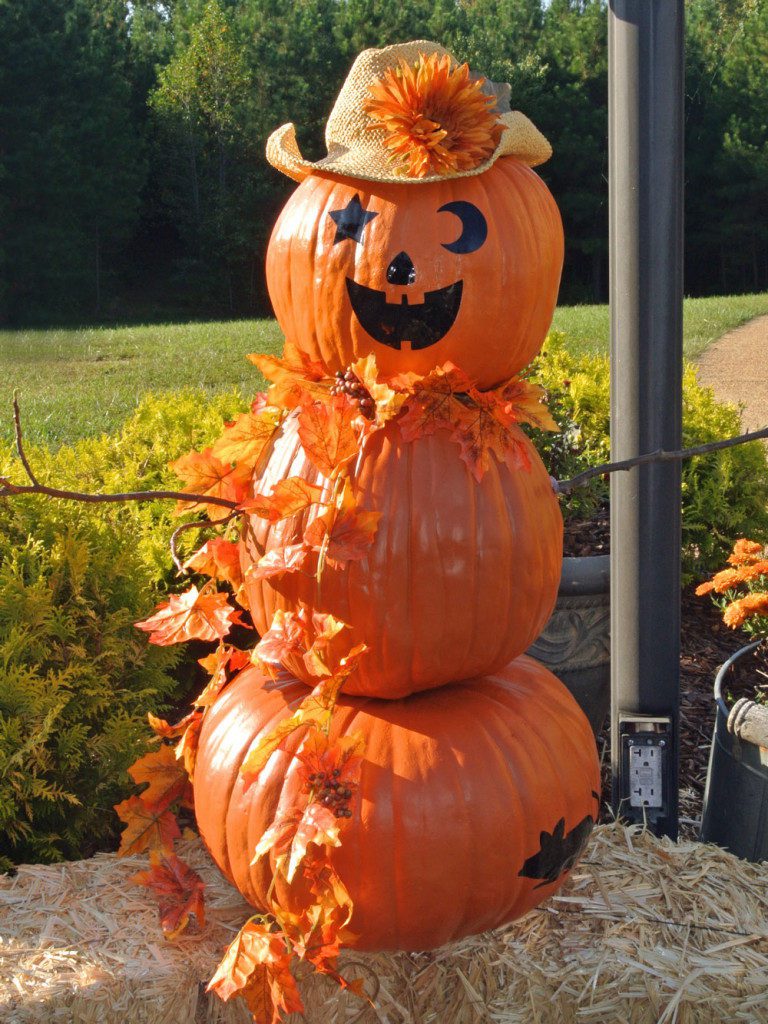
photo by The Printable Concept
Step 3: Frame to Layout
Now that you have decided which artwork and photos you would like to use and framed them all so they look like a collection its time to decide on the perfect layout for your wall. Using the floor space in front of your gallery wall start by putting down your favorite or largest piece in the center. Begin arranging your artwork around your center anchor piece and work your way out. Keep moving things around and experimenting until you like the way it looks. This really is a matter of personal taste and there is no right and wrong. Just follow your instinct on what looks best to you.
Tip: Keep a few inches of space between each frame to keep them close. A gallery wall is all about finding an organized balance in complete disarray.
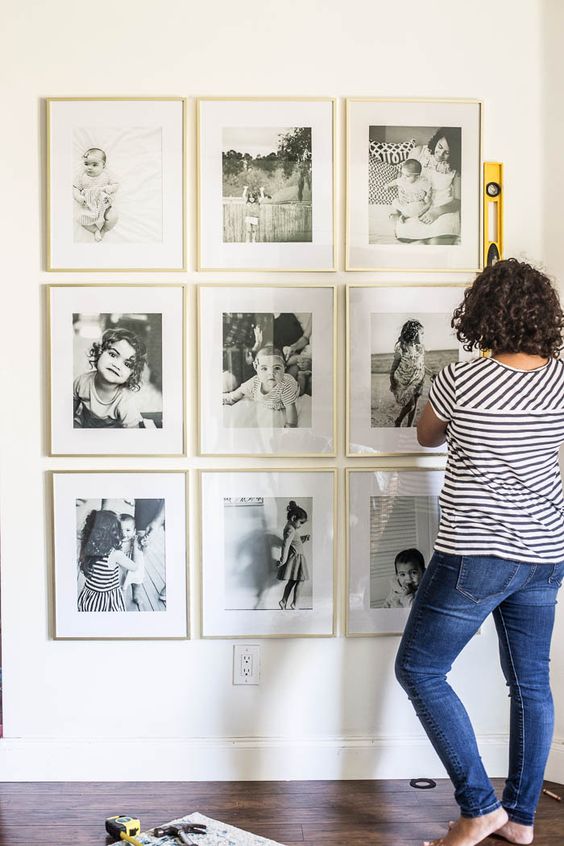
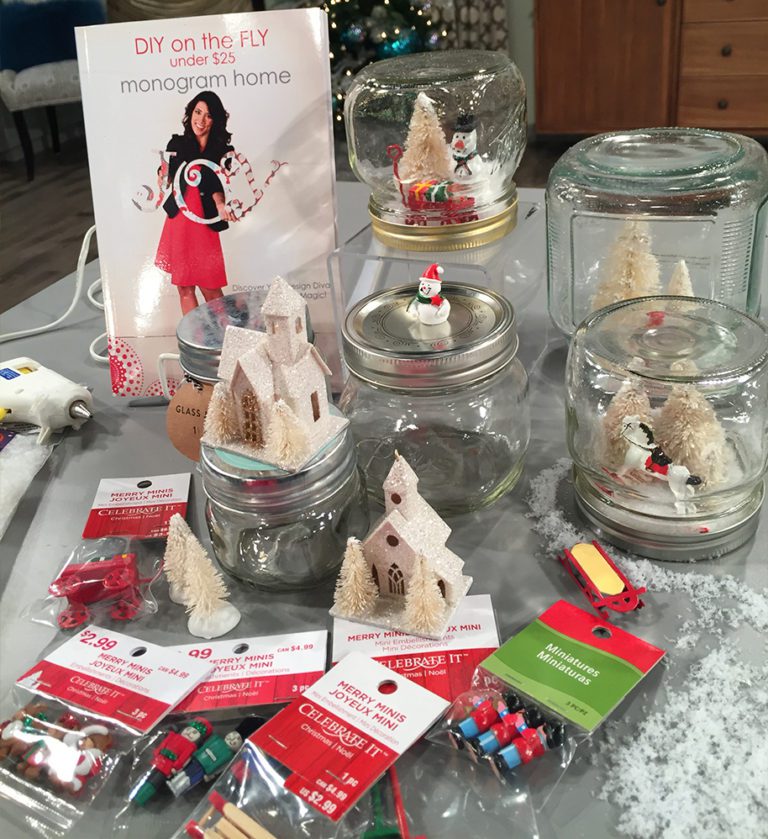
photo by Making Home Base
Step 4: Layout to Wall
Now that you have your layout designed take your newspaper or butcher paper and use your pencil to trace an outline of each frame creating individual templates, use your scissors to cut them out and then number them starting with your center piece as number 1. Use your tape measure to find the center point or points where your nail(s) will go for each piece of framed artwork or photo and pencil it in on your templates. Find the center of your wall and tape your center anchor piece template centered on the wall. Tape the rest of your templates on the wall keeping them close together in the same numbered sequence you laid out on the floor. Take your hammer and a nail and pound a nail through your template following your drawing. Remove the templates from the wall and replace them with your actual artwork and photos. Use your level to make sure your artwork is hung straight.
Tip: You can use cut outs of fabric, decorative paper or knick-knacks in and around your artwork to fill space and add another dimension to your wall.
There are no exact guidelines or rules to creating a picture perfect gallery wall so embrace your life’s journey, showcase what makes you feel good and have fun with it! I would love to see and post photos of your completed gallery wall, so make sure to tag me on Instagram @juleeireland or Facebook at facebook.com/juleeireland and I’d love to share your creations with the world!